

This post was written by Janine Pettit, Editor-in-Chief of Girl Camper Magazine.
We set out to take our Keystone Hideout up a notch with some simple upgrades that did not involve weeks of labor and power tools. We just wanted to KISS (Keep It Simple Silly) our Keystone with some easy DIY projects that could be done in an afternoon.
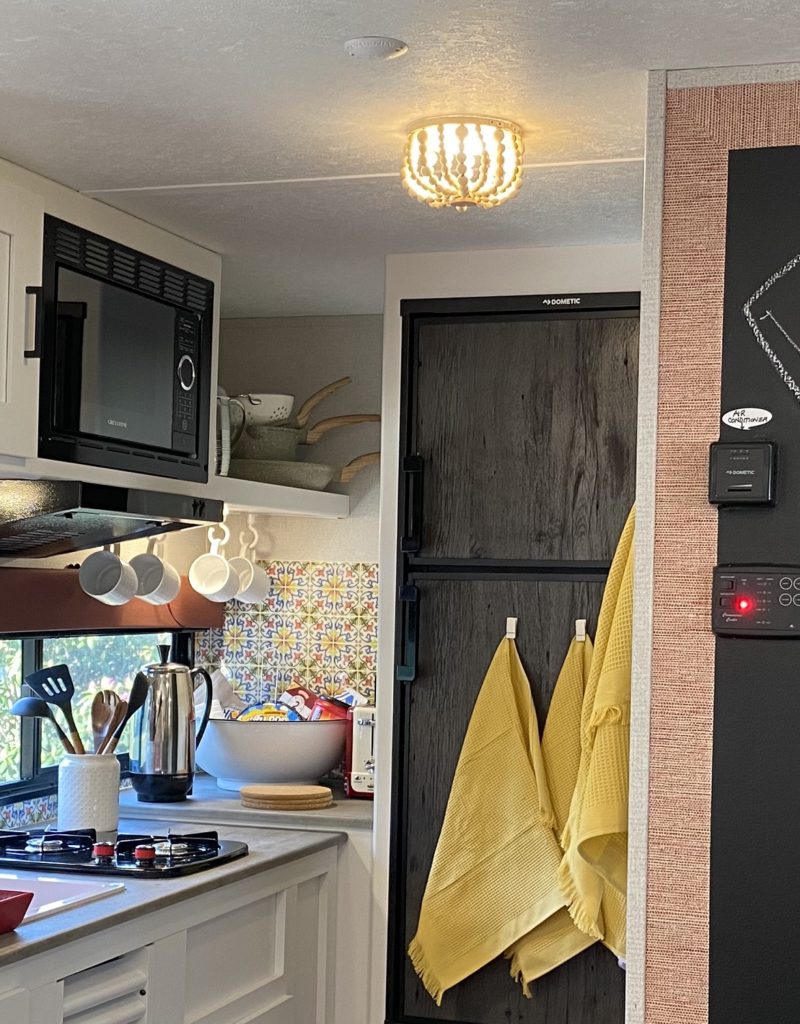
Our favorite fix was our ceiling light cover made from an inexpensive embroidery hoop, a spool of wire, and a bag of wooden beads from the craft store.
Some other simple additions included:
- color with peel and stick wallpaper
- simple curtains with repurposed dish towels
- some kitchen style with a pre-pasted backsplash
- a comfortable seating area with recovered booth cushions
- a great message center with a pint of chalkboard paint
Here’s how we did it, and how you can do it too!
1. Peel-and-stick wallpaper
Wallpaper is a great way to make a statement with color and design. There are thousands of styles to choose from and lots of tutorials on social media to help the novice get the job done. Some RV walls have a texture to them and may need a little sanding first. Make sure the walls are clean and dry before getting started.
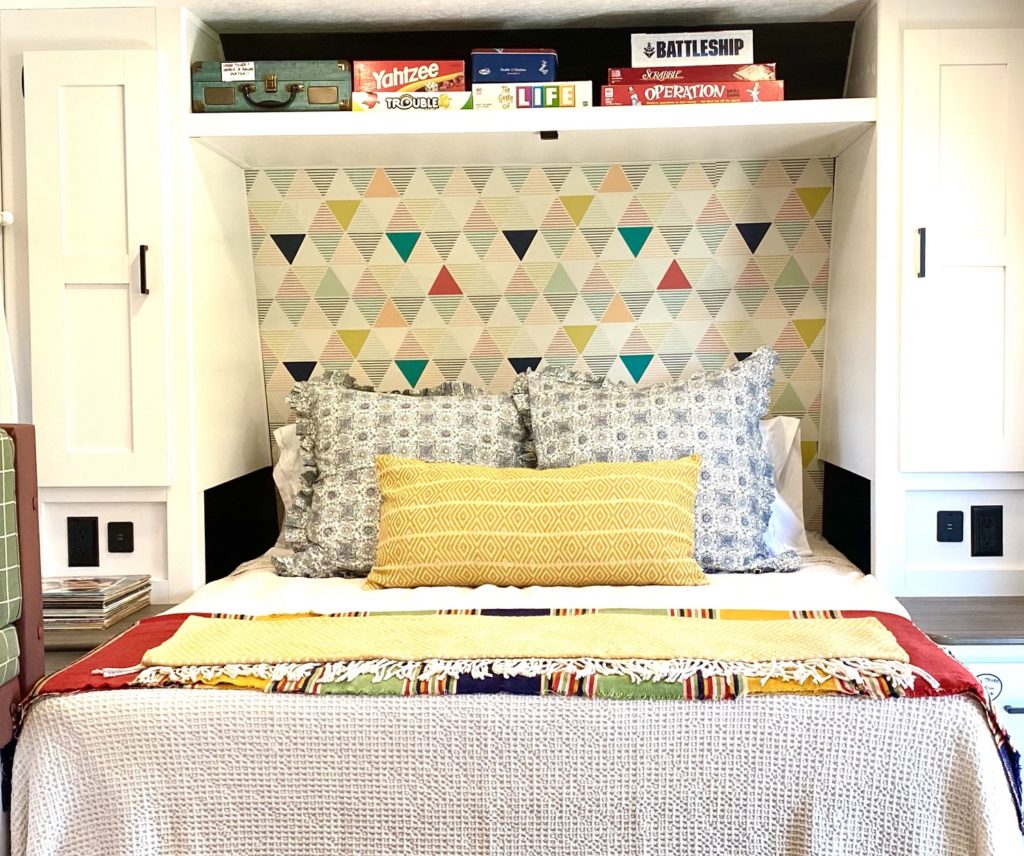
We used Spoonflower peel and stick behind the murphy bed wall. The pattern reminded us of mountain tops and gave us a color palette that offered lots of options for other areas of the RV. Spoonflower also lets you be the designer. You can send in your own images, and they will make them into wallpaper or fabric. One of the things we love about Spoonflower wallpaper is that it is actually fabric with an adhesive on the back. It does not tear like old-school paper wallpapers and can be peeled off and reapplied if you put it up wrong. The best part is if you get tired of it or want to go in a different design direction, it peels right off with no residue left behind.
2. RV curtains
RV blinds and built-in cornices always remind me of doctor’s office decor. They are designed to stand up to wear and tear and last a long time. In reality, RV blinds getting lots of use almost always need tweaking.
In our Hideout, we took down the bedroom and dining room blinds and cornices and added simple curtains on rings that we made from linen dish towels. They were light enough to let filtered light come through but offered evening privacy. During the day they are easily pushed back to let maximum light and air in. We bought curtain rod brackets that adhered to the surface with adhesive, so we didn’t have to worry about drilling holes into the wall. Our whole curtain project cost less than $75. On the kitchen windows, we didn’t want fabric near the cooktop, so we kept the original manufacturer’s window treatment. The cornice was wrapped in a gray-colored plastic fabric that we painted with a bottle of acrylic craft paint and a sponge brush. A quick fix that added a pop of color for very little effort.
3. Backsplash upgrade
Another quick fix in the kitchen was a colorful backsplash that required no tile cutting, mastic, or grouting. There are many options for backsplash upgrades including actual ceramic, metal, or plastic “tiles” that come with the bonding agent already on. We chose a complementary color scheme to our mountain-top bedroom wallpaper and the whole install took less than two hours.
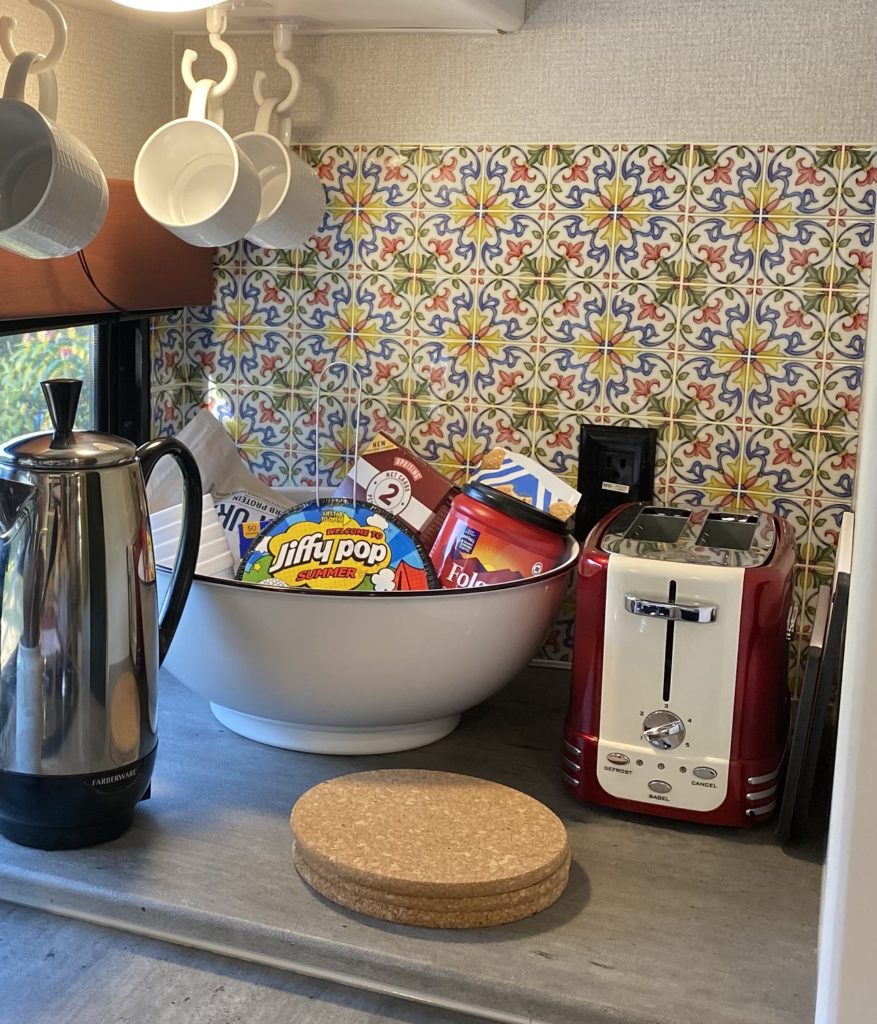
Although these options are easier to install than “real” tile, they are not always cheaper. We were surprised to discover that many of the choices were more expensive than their tile counterparts. Most RV kitchens are small though and don’t require much to cover the whole area. This quick fix gave our kitchen a residential feel.
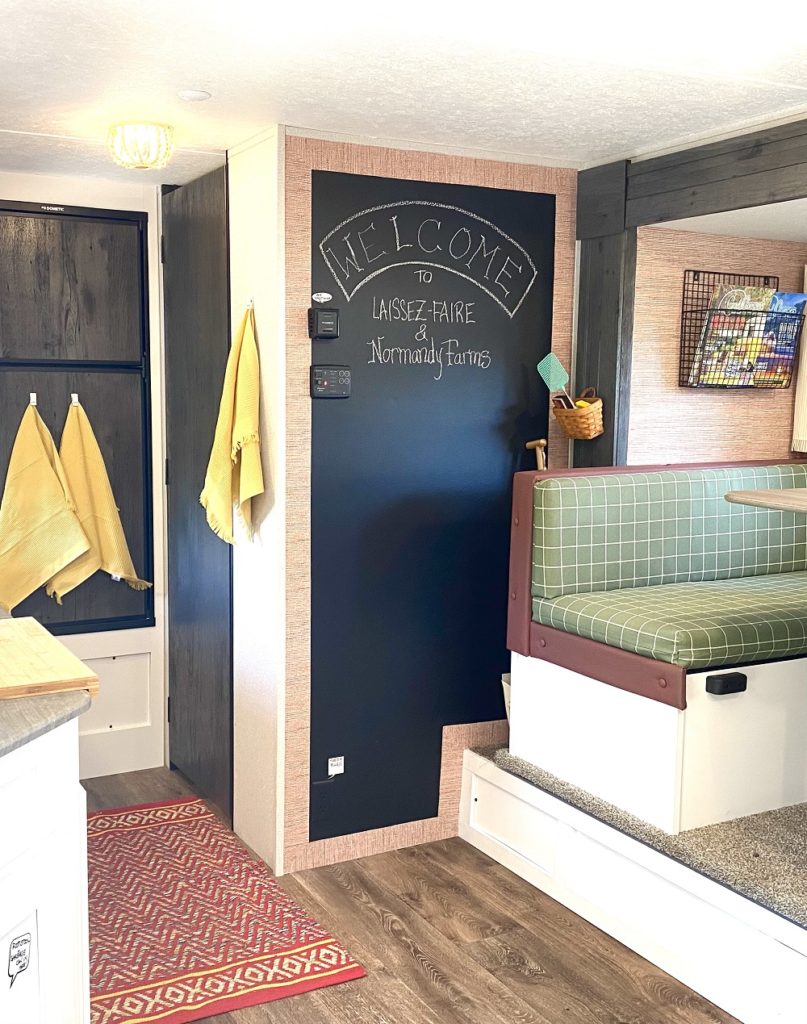
4. Chalkboard wall
The Hideout has one big wall that was just begging for chalkboard paint. We created our message wall by taping off the ceiling and floor edges and rolling chalkboard paint on with a sponge roller. This works better than rollers with a cotton nap.
When doing chalkboard walls, the best results are achieved with multiple coats of paint, and we did three thick coats on our wall. Make sure the wall is thoroughly dry before adding the next coat. When we were happy with the results, we used the extra “dining room” wallpaper to create a frame for our message wall. Walls need to be clean and dry before starting but the texture on an RV wall is a bonus for this project. No extra prep work was required for a great result.
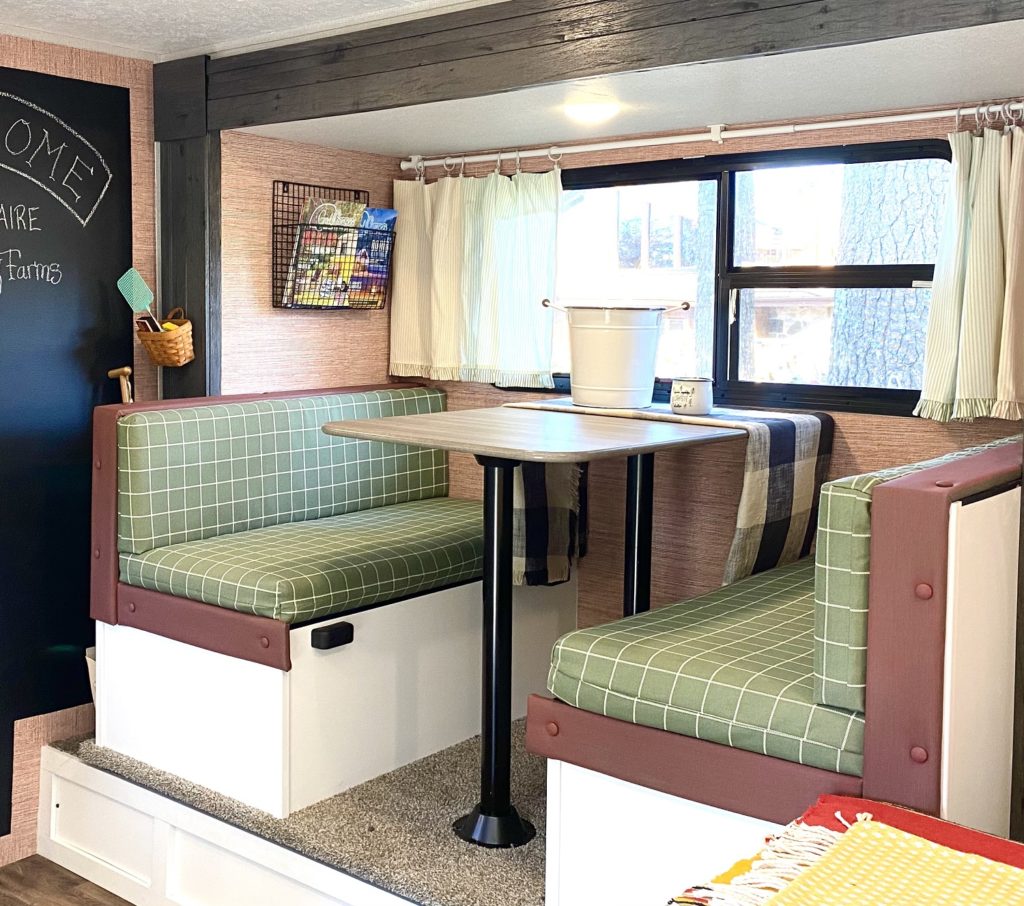
5. Seat cushions
RV booths get lots of use and the fabrics most designers choose are meant to last a long time and clean up easily. Ours were covered in heavy-duty neutral gray vinyl that was not only uninspiring but would be hot in the summer. We swapped it out for a practical but pretty outdoor fabric that had been treated with a fabric protector.
There are several ways to recover RV cushions from simply wrapping and them and then stapling them to ¼” plywood placed on the bottom, to a more advanced sewing project involving zippers and piping. I have included the video I did on recovering cushions here so you can determine which method works best for your skillset and patience level. Whichever you choose, the results will be worth the time and effort and make your home away from home feel more like your actual home.
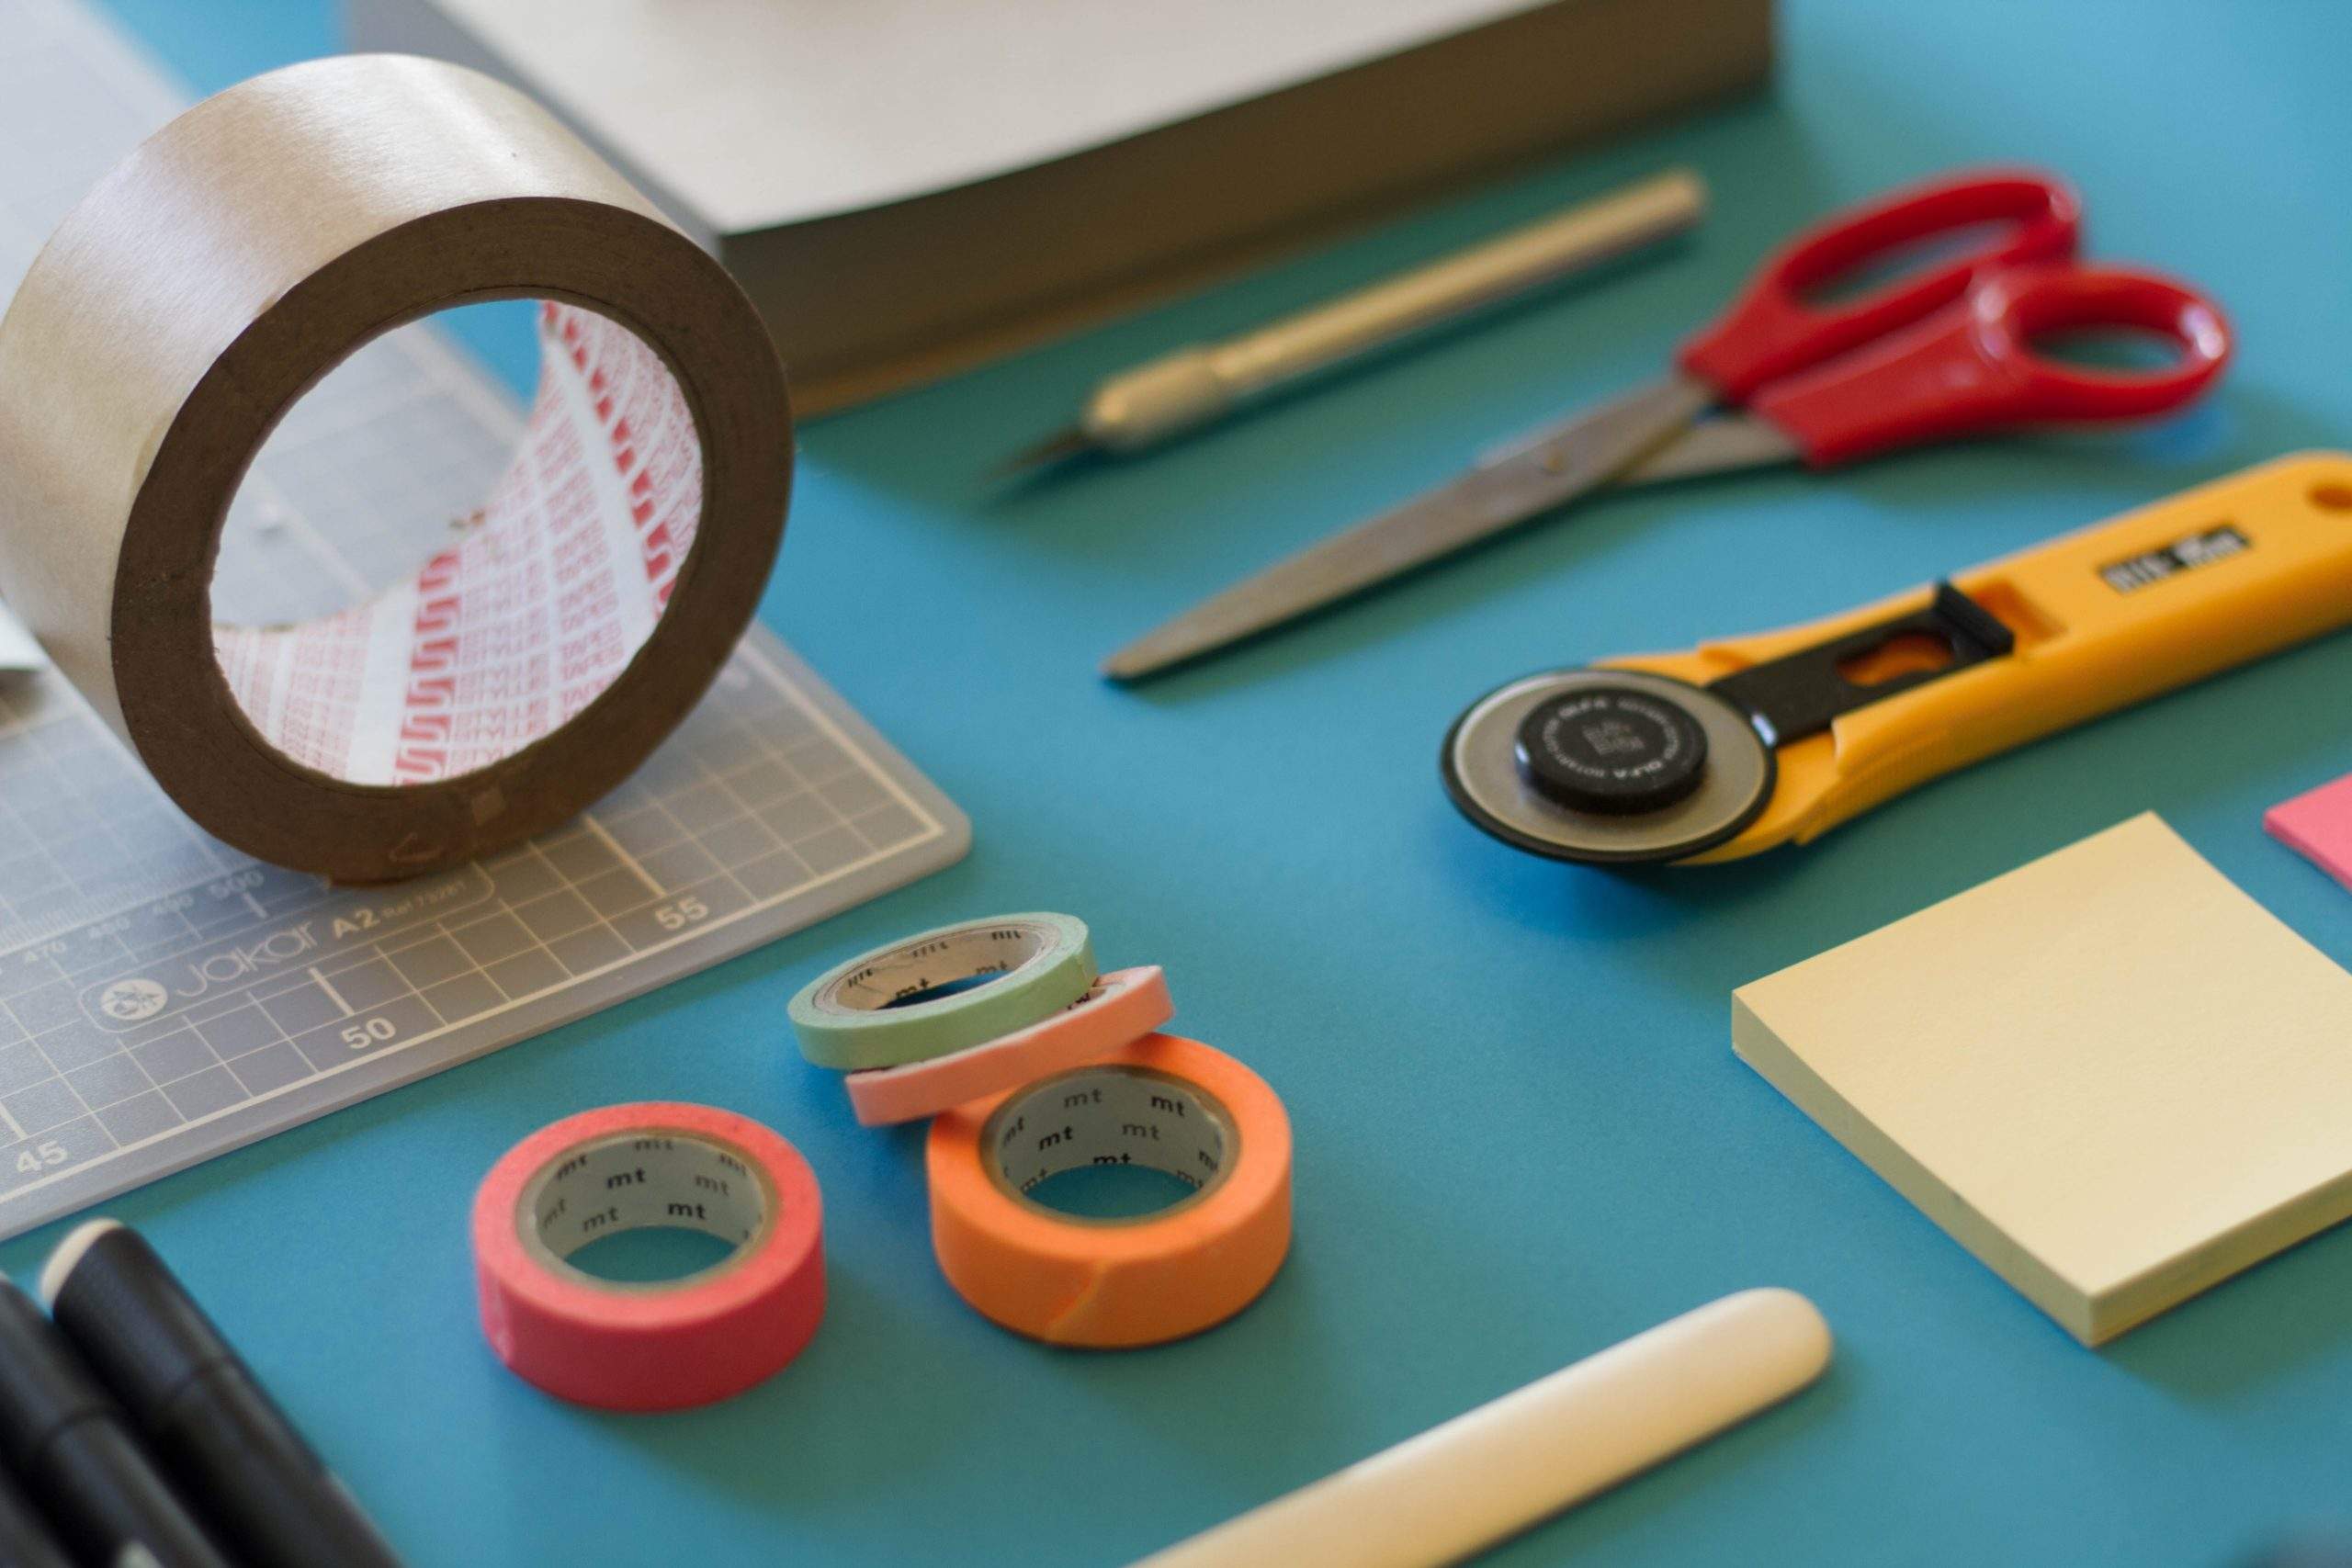
6. DIY light cover
Lastly, we loved our DIY light cover over the kitchen ceiling light. Wooden ball chandeliers are all the rage on Pinterest, and we brainstormed on how we could make a cover for our factory light. The solution was so cheap and fun that I created a step-by-step tutorial for the DIYers out there.
Materials:
- Wooden Embroidery hoop-sized to cover the light
- Spool of floral wire in a heavier gauge
- Wire cutters
- Wooden beads of various sizes with holes drilled in them
- E6000 glue
- Washer
- Wooden disc, slightly larger than the washer
- Painters tape to hold cover in place during install
Instructions:
- Measure the interior hoop and place marks indicating where the wire that will hold the beads will go. I traced the interior ring onto a circle of paper and folded the paper multiple times to get sixteen evenly spaced triangles and then marked my hoop.
- Cut lengths of wire longer than necessary and wrap them around the hoop twisting them tightly so they don’t slide. Where the two wires twist together, cut one down about an inch from the hoop leaving the longer one to thread the beads on.
- Begin threading your beads onto the wires making sure the first beads cover both wires.
- Bend your wires to the center to create a bowl shape.
- Once all the beads are on, thread the remaining wires around a heavy washer to hold them in place. Clip any excess wire.
- After the beads are in place and secured to the washer, use E6000 glue to secure the wooden disc over the washer to cover it.
- Apply glue to the inside of the outer ring with the adjustable screw on it.
- Open the outer ring and place it around the smaller ring tightening the screw. If the wires move, adjust them and then set it aside to set.
- Once the glue on the outer ring has dried you can remove the screw and bend down or clip off the metal bracket.
- I secured mine to the ceiling by applying E6000 glue to the top and using painters’ tape to hold it in place while it dried.
It was so much fun that I will have to make one for the dining room now!
It doesn’t have to cost a lot to make your RV feel like home. A little paint, a little wallpaper, and a little time go a long way!


