
One of the best things about RVing is getting to experience all of the joys of nature without giving up the comforts of home. Whereas tent campers may be left in the dark with only a flashlight or lantern, RVers enjoy fully illuminated living. Still, there may be days on the road when you are without electricity or you want to conserve your resources. A skylight can be an excellent feature on your RV that adds natural light to the areas you need it most!
In this article, we’ll break down everything you need to know about skylights, whether your RV is currently equipped or you’re looking to install one for the first time.
RVs For Rent Near You
What is an RV skylight?
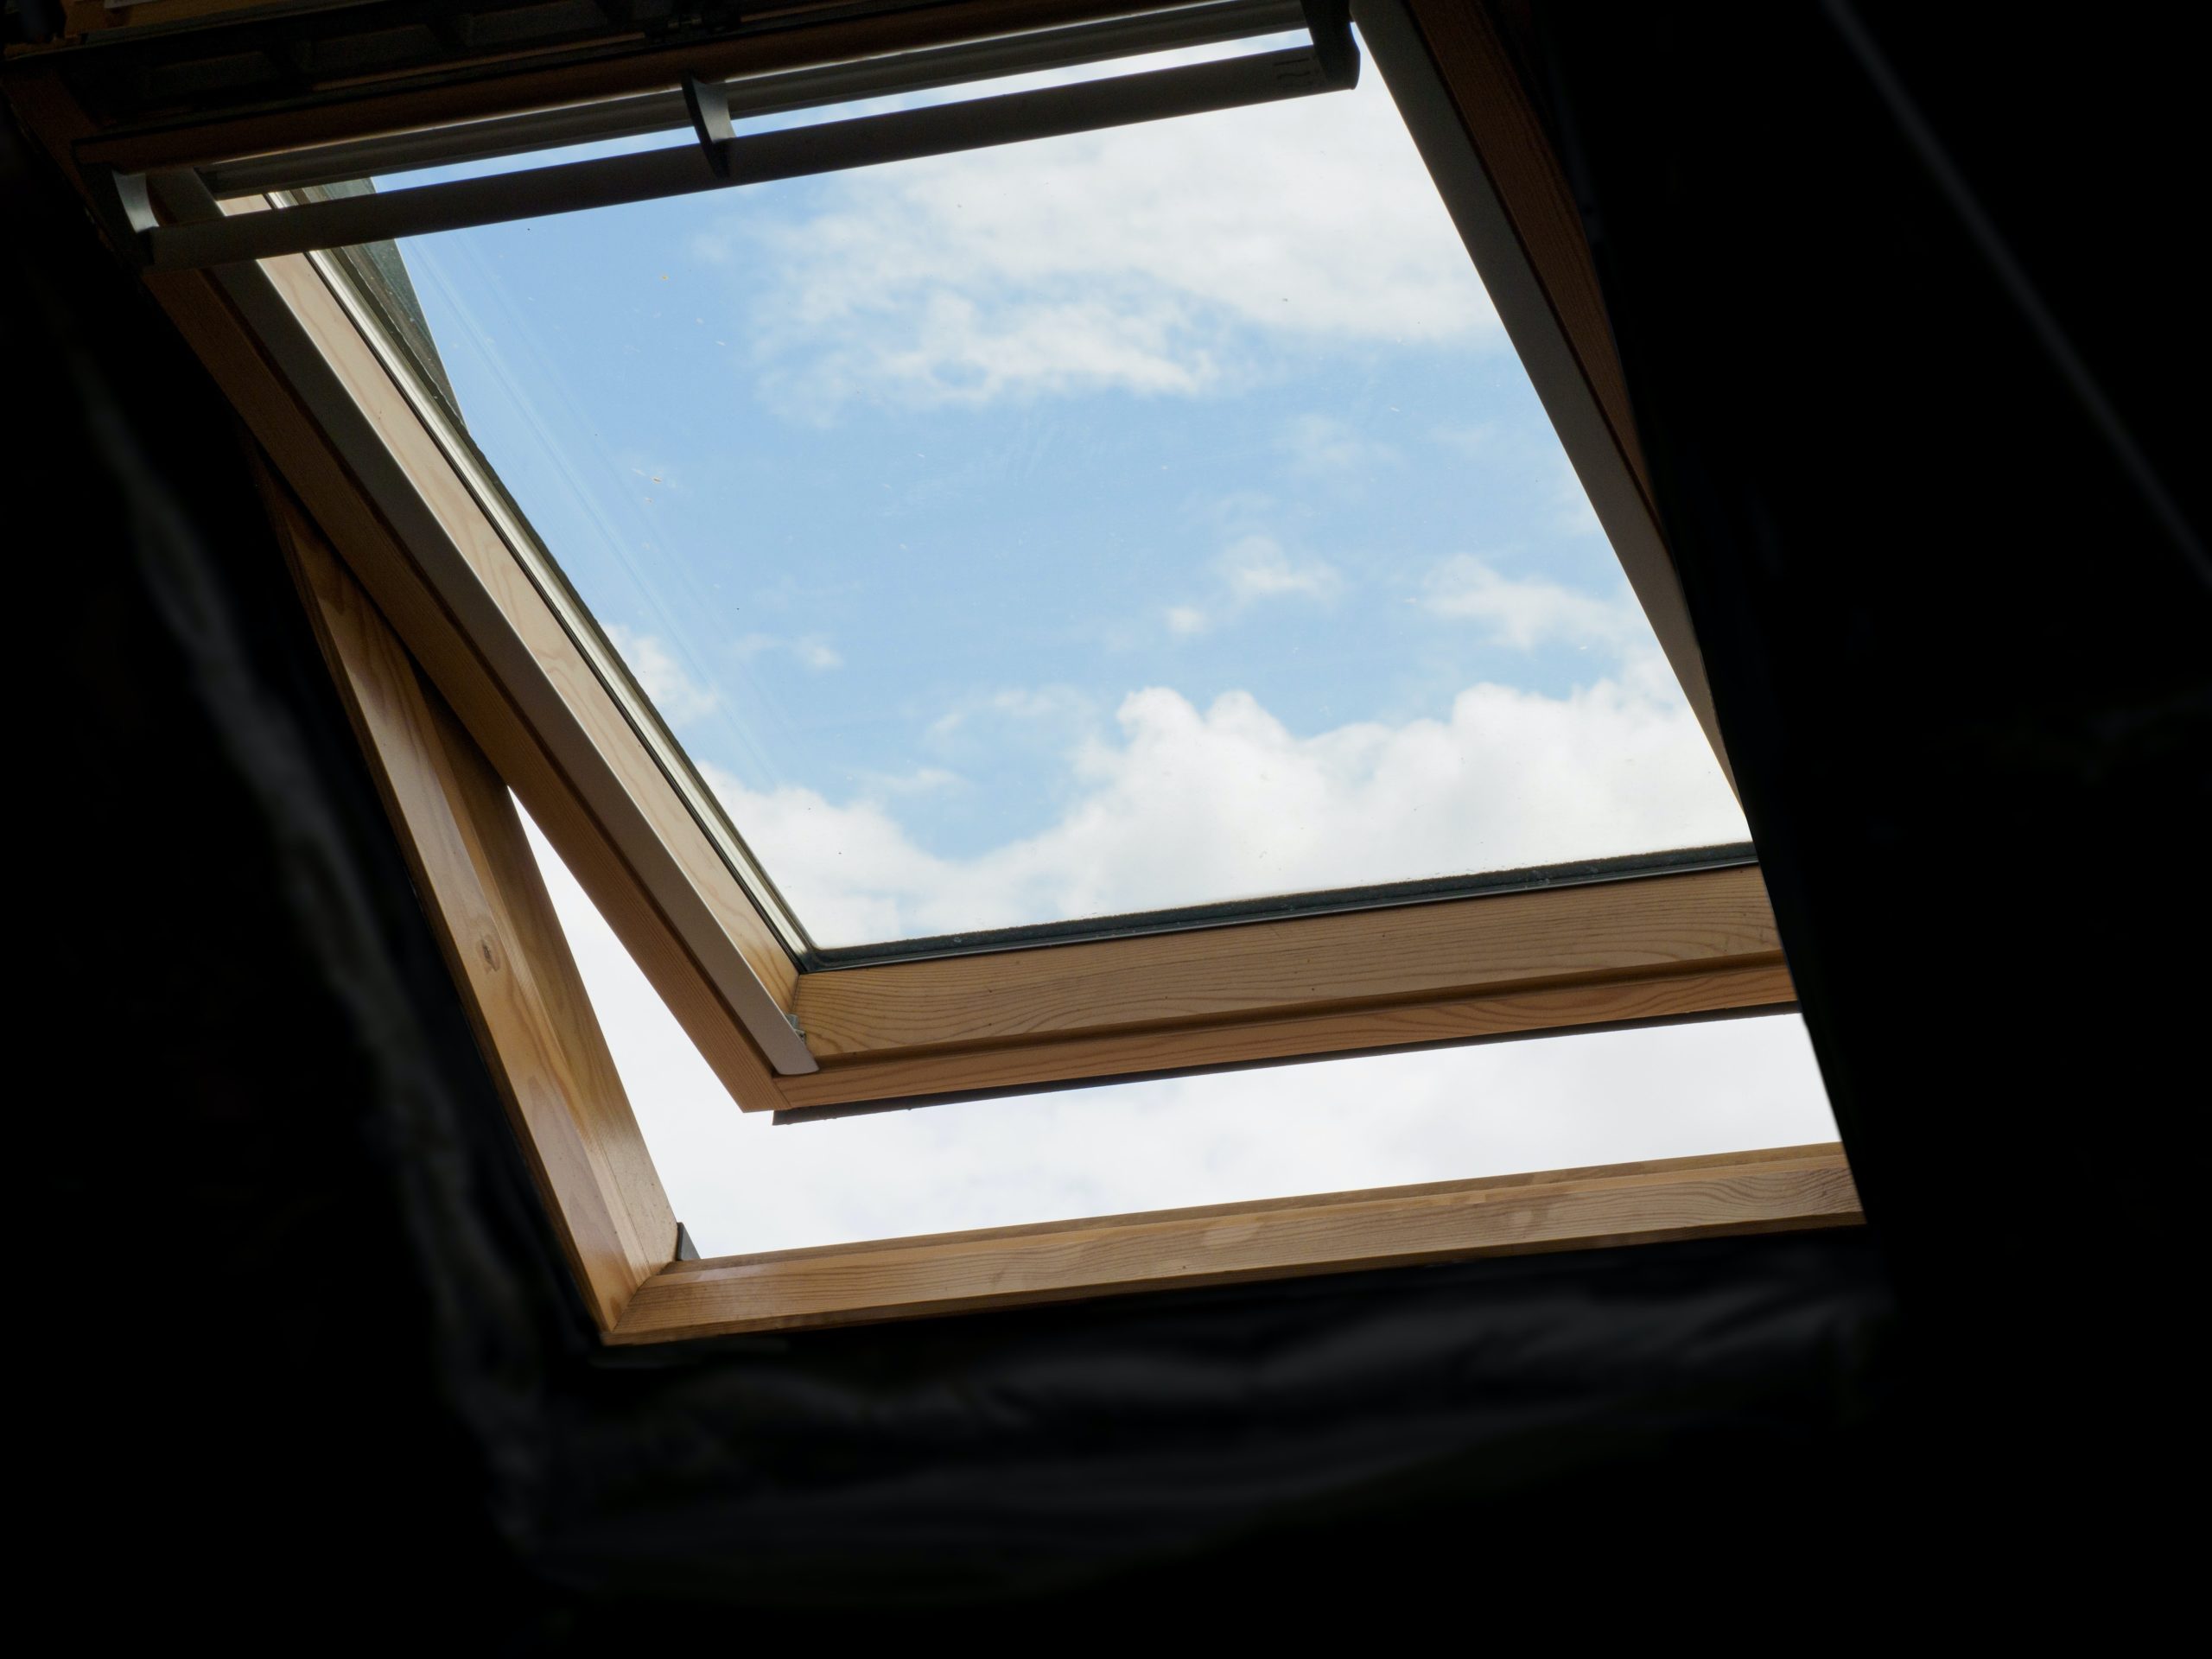
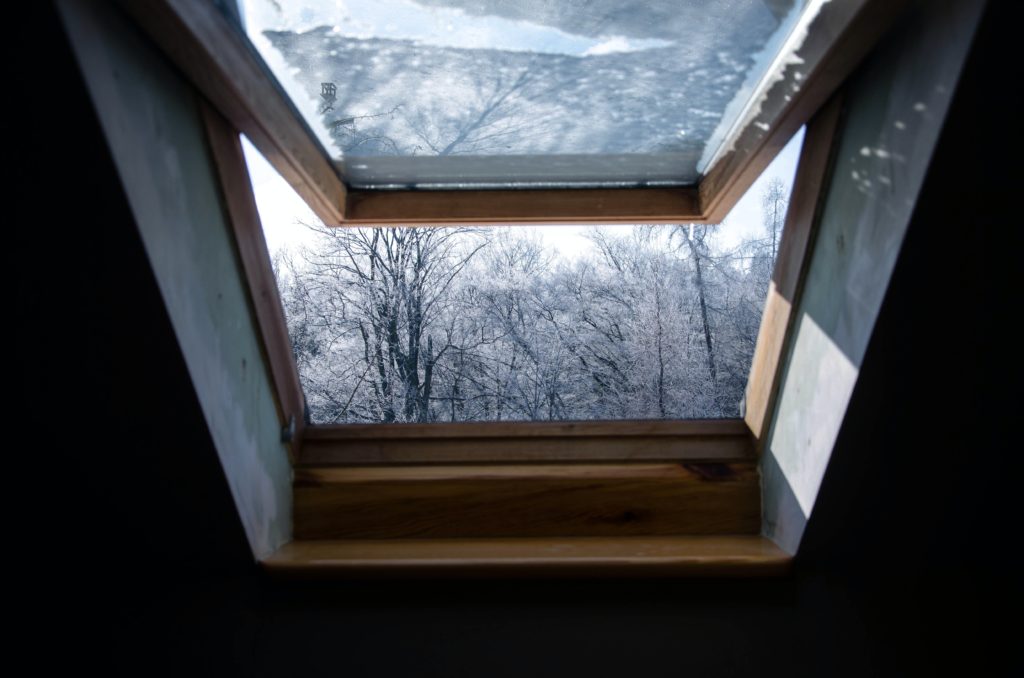
An RV skylight is a panel located on the roof of your RV that allows light— and sometimes ventilation— into your rig. Think of it as a window installed on the ceiling.
Skylights can bring extra light to any room, but they are especially helpful in small areas without windows, such as your RV bathroom and shower.
How to Choose the Right RV Skylight for Your Vehicle
Selecting the best skylight for your RV depends on factors like size, type, material, and budget. Here’s what to consider:
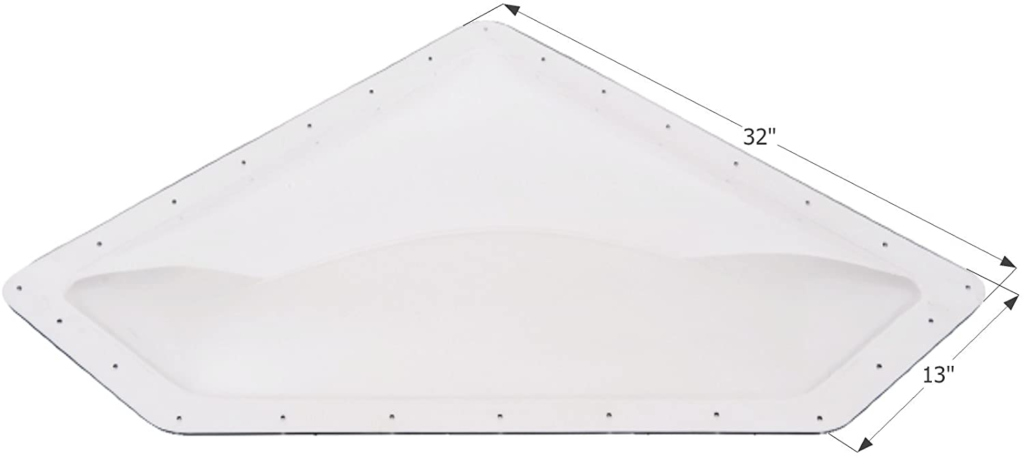
- Skylight Size and Shape: Measure your RV roof’s available space. Skylights come in various shapes, like rectangular or dome-shaped, to fit different roof profiles.
- Material Durability: Most skylights are made of acrylic or polycarbonate. Acrylic is lightweight and cost-effective, while polycarbonate offers better impact resistance.
- UV Protection: Look for skylights with UV-blocking features to reduce heat and protect your interior furnishings from fading.
- Ventilation Needs: If airflow is a priority, opt for a ventilated skylight or one with an integrated fan.
- Compatibility: Check that the skylight matches your RV’s roof structure and insulation requirements.
Types of RV skylights
As with many parts and features on an RV, you’ll see skylights come in several different shapes and sizes.
- Fixed skylights: A fixed skylight is a panel affixed to the roof and does not open.
- Ventilated skylights: Ventilated skylights allow you to open the top panel to let fresh air in. Some may also come with fans to help circulate air.
- Tubular skylights: Tubular skylights are a bit different from ventilated and fixed models. They are tube-shaped and contain a rooftop lens that collects sunlight and channels it into a reflective-lined tube. A diffuser at the bottom of the skylight scatters the light into the RV.
The most common of these three RV skylight types are fixed and ventilated. Some smaller campers may have tubular skylights.
Maintenance Tips for RV Skylights
Keeping your RV skylight in top condition ensures longevity and prevents issues like leaks or discoloration. Follow these tips:
- Regular Cleaning: Use non-abrasive soap and a microfiber cloth to clean the skylight, avoiding scratches.
- Inspect for Cracks: Examine the skylight for cracks or signs of wear after every trip, especially in extreme weather conditions.
- Sealant Checks: Inspect the sealant around the skylight edges periodically and reapply as needed to prevent water leaks.
- Protect from Debris: If parked under trees, clear leaves, branches, or debris that may accumulate on the skylight.
Advantages and disadvantages of an RV skylight
Not sure if an RV skylight is for you? Here are some pros and cons to consider:
| Pros | Cons |
| Natural light: Skylights let in natural light, illuminating your space. This is particularly nice if you’re not hooked up to electricity and want to conserve battery power as much as possible. | Roof leaks: With a skylight, you have an increased potential for roof leaks because you’ve created a seam where water can seep in. |
| Aesthetics: They can be aesthetically pleasing and elevate the look of a camper or motorhome. | More maintenance: To prevent the aforementioned roof leaks, you’ll need to do routine maintenance on your skylights. |
| Fresh air: Some skylights are venting, which allows you to bring in some fresh air along with the natural light. | Can heat up your space: Under the direct sun, some skylights can heat up your RV, which can be uncomfy in the hot summer months. |
How to install an RV skylight
Installing an RV skylight will require a knack for DIY projects and knowledge of power tools. If you don’t feel comfortable doing it yourself, be sure to enlist the help of a professional. Installing an RV skylight is something you want to get right. Putting it in wrong could spell trouble for your rig.
Equipment and materials
To install an RV skylight, you’ll need to make sure you have the following tools:
- Your new skylight
- Jigsaw
- Drill with bits
- Screwdriver
- Caulking gun
- Skylight sealant or RV roof sealant
- Square
- Pencil/marker
Procedure
Installing a skylight will involve cutting away a portion of your RV’s roof, so it’s important to take the time to properly plan out the process. Be sure to take any manufacturer’s instructions into account when installing your skylight.
1. Determine where your new skylight will be.
You know the saying that goes measure twice, cut once? This is especially important to remember when cutting into your RV! Before you cut, you need to ensure that:
- You are cutting in the right location
- You are cutting the right sized hole
- You are not going to cut through anything inside the roof or on the other side such as framework, vents, lights, wiring, antennas, the A/C, speakers, and more
The best way to ensure that you’re installing your skylight in the right place is to get a copy of your specific model’s framing and duct prints. This will allow you to see where everything is, inside and out.
2. Mark where you will cut.
Once you have an idea of where you want the skylight, mark the area on the inside. On the four interior corners, drill a hole that goes through the roof. These four holes will serve as your guide on top of your rig.
On the roof, connect the four holes using your square to mark straight lines where you will cut.
3. Cut the hole.
Once you have everything marked out, use your jigsaw to cut the hole. If your roof is thick, you have to cut from both the outside and the inside.
4. Clean the area before installing the skylight.
Make sure that the area where your skylight will sit is clean. This will help ensure that the seal sticks to your rig firmly, keeping any water out. Use a cleaner that is compatible with your roof type.
5. Apply sealant, place the skylight in the cutout, and screw it in.
Test the skylight by placing it into the cutout, ensuring a snug fit. If all is good, remove the skylight, and apply a thick bead of sealant around the cutout. Place the skylight back into the cutout.
Secure the skylight using self-drilling screws (or pre-drill the holes with a drill bit), making sure to not drill so far that you crack any plastic.
6. Seal around the skylight.
Once your skylight is in place, cover the edge of the skylight and every screw with sealant or sealant tape. This will prevent water from seeping in under the skylight dome.
7. Install interior liner.
Install any interior pieces. Usually, these simply screw into place.
How to replace an RV skylight
If you already have a skylight, replacing it should be a breeze!
Equipment and materials
To replace your RV or camper skylight, gather the following materials:
- Your RV skylight replacement
- Putty knife
- Skylight sealant
- Screwdriver or cordless drill
- Mineral spirits
- Old rag
- Nitrile gloves
- Extra self-drilling screws
Procedure
Once you have everything you need rounded up, you can get started.
- If you are replacing an entire fixed skylight or a vented skylight, start by removing any covers or pieces inside your rig. These should come off by simply unscrewing a few screws.
- Next, head to the top of your rig. Begin by scraping away the existing sealant. By doing this, you should uncover the skylight screws.
- Remove all of the screws. Use a screwdriver or cordless drill to unscrew the dome. Be sure that the screws don’t roll off the RV!
- Use a putty knife to cut through any remaining seal. Once it is loose, remove the old skylight.
- Scrape away any sealant left over. Use mineral spirits or another roof cleaner to move any residue.
- Place the new skylight to ensure it fits in the space.
- If all looks good, apply a thick bead of roof or skylight sealant around the cutout, making sure to cover any old screw holes.
- Put your new skylight into place. Using self-drilling screws, screw it down.
- Reseal the perimeter of the skylight, making sure to cover every screw.
Replacing a skylight is certainly a lot easier than installing a new one, but again, if you don’t feel comfortable handling this job, hire an RV repair professional to help you out.
5 best RV skylights
Don’t have your skylight picked out yet? Start your search with these five highly-rated models.
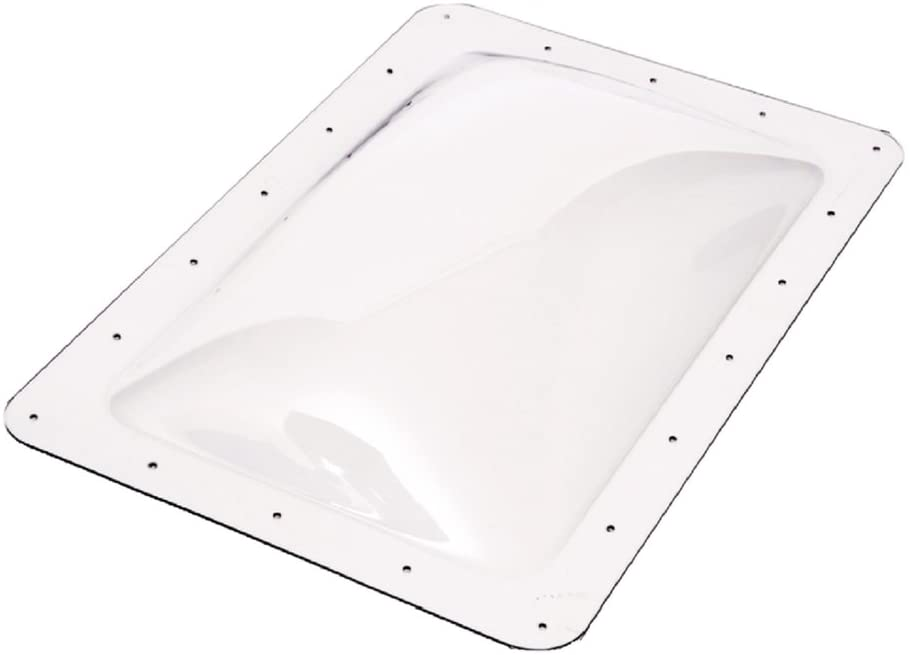
1. ICON RV Skylight SL1422W
This model has hundreds of 5-star reviews from satisfied RVers who have replaced their existing outer dome with this skylight.
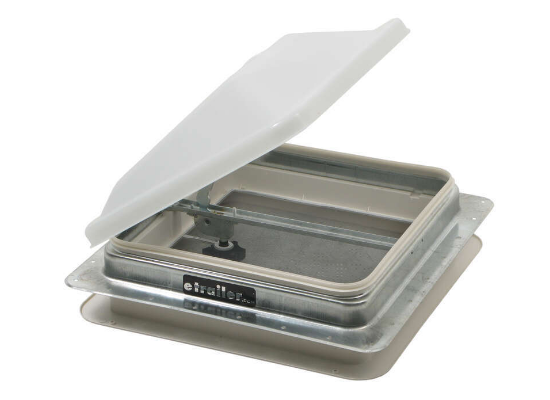
2. Ventline Ventadome
This vented skylight allows air to circulate throughout your RV while also letting light in. Its low price point offers a great bang for your buck, according to several satisfied users.
3. Dometic Heki Mini Plus RV Rooflight
The Dometic Heki Mini skylight can bring illumination to even the smallest spaces. This tilting dome lets you open it up and let in fresh air on those perfect, crisp days. One cool feature of this model is the retractable blind that allows you to cut out the light when you want darkness in your RV.

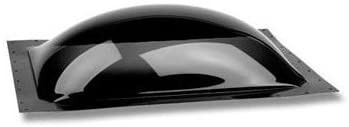
4. Specialty Recreation Skylight Dome
This thermoformed polycarbonate dome is tinted to allow some light in without being too overpowering.
5. ICON 01868 RV Skylight
ICON makes several different models of skylights, many of which are highly rated by online retailers. This model, which comes in three different tints, is another that consistently gets five stars from its customers.
How to maintain your RV skylight
Because a broken or leaking skylight can quickly lead to worse damage in your rig, it’s important to routinely inspect the exterior of your skylight.
Anytime you clean or perform maintenance on your RV roof, check to make sure all of the seals around the skylight still look healthy. If your sealant is looking worn and cracked, take time to scrape the old sealant off and apply a new layer of roof or skylight sealant. If the RV skylight dome of the skylight is damaged, it is always best to replace it, even if it is not actively leaking.
If your skylight is looking cloudy or dirty, it’s probably time for a good wash! Always use a mild soap or detergent and a soft, clean cloth or sponge to clean your skylight. Abrasive cleaners can lead to permanent scratches, which affect the quality of light coming into your RV. Harsh chemicals can weaken the polycarbonate plastic, making it more susceptible to cracks or breaks.
Frequently Asked Questions (FAQ)
Q: Can I install an RV skylight myself?
A: Yes, but installing a skylight requires cutting into your RV’s roof, which can be tricky. If you’re not confident in your DIY skills, hiring a professional is highly recommended.
Q: Are RV skylights prone to leaking?
A: Leaks can occur if the skylight is not installed or sealed correctly. Regular maintenance, such as resealing and inspecting for cracks, can help prevent leaks.
Q: Do RV skylights make the interior hotter?
A: Skylights can increase heat in your RV, especially if they lack UV protection. Adding a reflective shade or choosing a UV-coated model can help mitigate heat buildup.
Q: How much does an RV skylight cost?
A: Costs vary depending on size and type but generally range from $50 for basic fixed skylights to $300+ for ventilated models with additional features like fans.
Q: Can I replace an old RV skylight with a new one of a different size?
A: Yes, but this may require modifications to your RV roof, which can be more complex than a standard replacement. Consult a professional for advice on resizing.
Light the way with an RV skylight
By bringing natural light in, skylights allow RVers to truly become one with their surroundings. They’re functional, aesthetically pleasing, and can even serve as an additional vent that brings much-needed fresh air into the living spaces. As an RV owner, a skylight or two can be a great touch that draws renters to your rig. Though they may take a little more work, many RVers would agree that their benefits far outweigh the downsides.